Advertisement
Popular Now
Mining is one of the most crucial aspects of Core Keeper, as it provides essential resources for crafting, upgrading gear, and progressing through the game. While manual mining is effective in the early stages, automation becomes necessary for long-term efficiency and large-scale resource collection. Setting up an automated mining system can save time and effort while ensuring a steady supply of ores. This guide will dive deep into the mechanics of automated mining in Core Keeper, covering everything from basic drills to advanced conveyor belt setups.
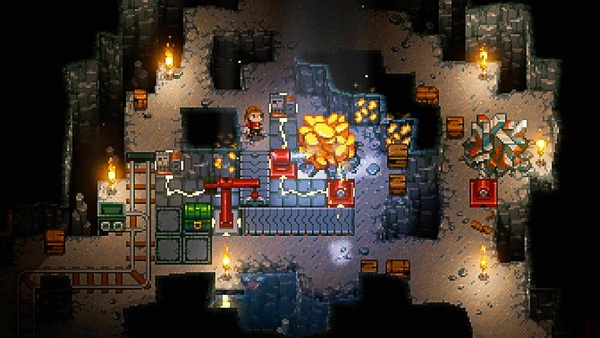
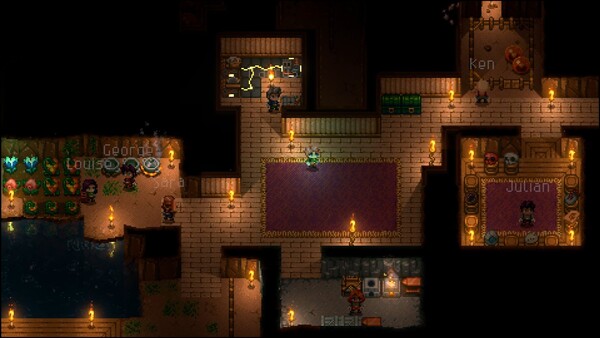
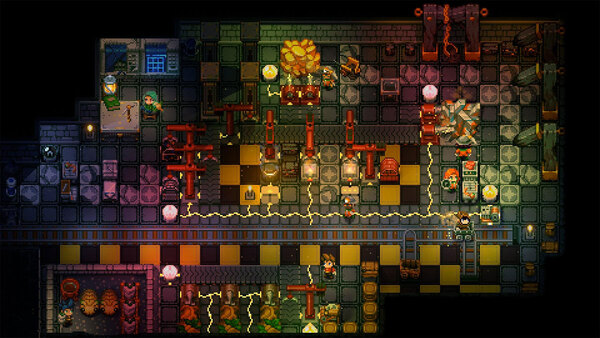 Players can experiment with unique drill arrangements and sorting systems to maximize efficiency[/caption]
1. Understanding Mining Automation in Core Keeper
1.1 Why Automate Mining?
Manual mining is effective at first but becomes inefficient as you progress. Automation allows for continuous ore extraction without constant player intervention, freeing you to focus on combat, exploration, or base-building.1.2 Key Components of an Automated Mining System
To automate mining, you need:- Drills: Extract ores from mineral deposits.
- Conveyor Belts: Transport mined materials to a collection area.
- Robot Arms: Pick up and sort materials.
- Storage Chests: Store collected resources.
2. Finding the Best Locations for Automated Mining
2.1 Identifying Large Ore Deposits
To maximize efficiency, look for large, concentrated ore veins in different biomes:- Copper: Found in the Dirt Biome.
- Tin: Located in the Clay Caves.
- Iron: Available in the Forgotten Ruins.
- Scarlet Ore: Found in the Azeos’ Wilderness.
2.2 Marking and Mapping Ore Locations
Use a paintbrush or landmarks to mark ore locations on the map. This prevents unnecessary re-exploration and ensures you can set up drills in optimal spots.
3. Setting Up Basic Mining Automation with Drills
3.1 How to Craft and Place Drills
Drills can be crafted at the Automation Table using:- Iron Bars
- Scarlet Bars
- Mechanical Parts
3.2 Arranging Multiple Drills for Efficiency
- Single Drill Setup: Works for small deposits but is slow.
- Multiple Drill Setup: Arrange drills in rows or circles around ore veins for faster extraction.
4. Using Conveyor Belts for Resource Transportation
4.1 Basics of Conveyor Belt Movement
Conveyor belts transport mined materials from drills to collection points. They follow a simple placement rule:- Align them towards chests or smelters for direct storage.
- Use corners and intersections for complex layouts.
4.2 Avoiding Common Belt Placement Mistakes
- Ensure proper belt direction to prevent materials from getting stuck.
- Use splitters to send ores to different smelting stations.
5. Sorting and Managing Mined Resources with Robot Arms
5.1 How Robot Arms Work
Robot arms pick up ores and place them into designated containers. They help in sorting and directing resources to the right stations.
5.2 Advanced Sorting Systems
- Basic Setup: One robot arm moves ores into a storage chest.
- Advanced Setup: Multiple arms direct different ores into separate smelters.
6. Optimizing Smelting for Maximum Output
6.1 Creating an Efficient Smelting System
Connect conveyor belts from your mining station directly to smelters, ensuring continuous ore processing.6.2 Auto-Smelting Setup for Mass Production
- Use multiple smelters for different ores.
- Set up storage chests at the end to collect processed ingots.
7. Powering Your Automation System Efficiently
7.1 Understanding Power Generators
Automation requires power. Generators supply energy to drills, belts, and robot arms.7.2 Best Power Management Strategies
- Place generators near high-demand stations to reduce energy loss.
- Use power switches to control mining operations manually.
8. Expanding Your Automated Mining Network
8.1 Scaling Up for Large-Scale Mining
- Extend conveyor lines to reach multiple ore veins.
- Use junctions and splitters to manage resources from different sources.
8.2 Centralized Mining Hub for Resource Distribution
- Create a central collection point where all mined materials are gathered.
- Use robot arms to sort resources before sending them to different storage or crafting areas.
9. Defending Your Automated Mining Setup
9.1 Common Threats to Mining Stations
- Enemy mobs may attack mining setups.
- Bosses can destroy conveyor belts and drills.
9.2 Protecting Your Automation System
- Build walls around mining areas to prevent enemy interference.
- Set up turrets or traps for automated defense.
10. Future Updates and Enhancements for Mining Automation
10.1 Potential Game Updates for Automation
- New drill upgrades for faster mining speed.
- Advanced conveyor systems with filtering options.
10.2 Experimenting with Custom Mining Layouts
Players can experiment with unique drill arrangements and sorting systems to maximize efficiency. [caption id="attachment_1503" align="aligncenter" width="600"] Players can experiment with unique drill arrangements and sorting systems to maximize efficiency[/caption]


